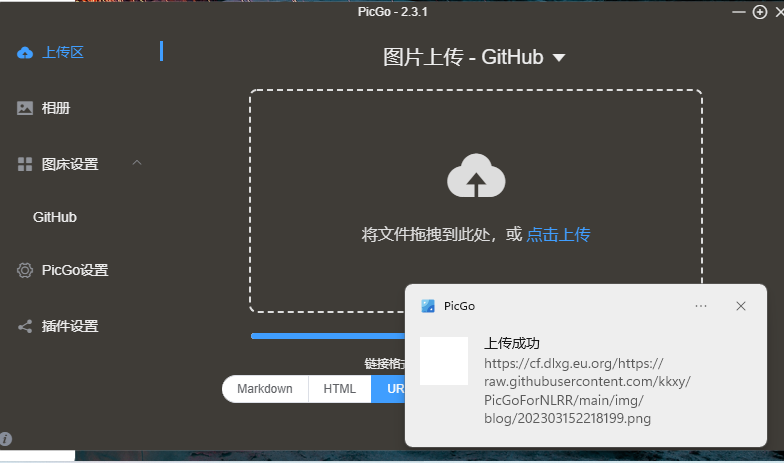
使用picgo+github+cloudflare创建加速代理图床
一、准备各种账号(不再重复)
二、下载picgo程序,下载地址:https://github.com/Molunerfinn/PicGo/releases
三、安装程序
四、登录github账号,设置存放图片的仓库
1.新建仓库,name随便取,勾选public,勾选Add a README File
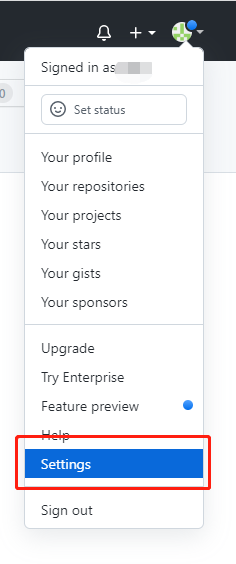
2.点击github头像,选择setting
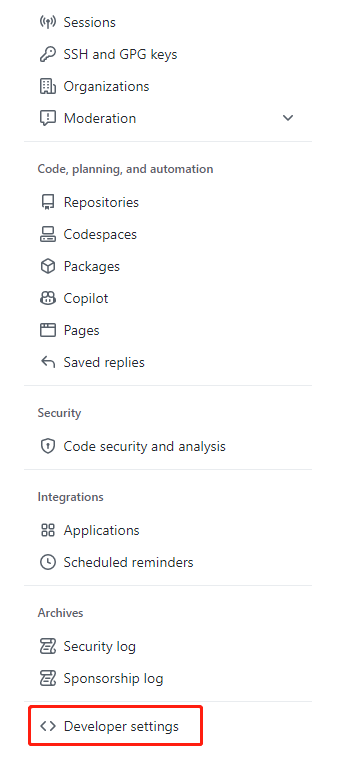
3.选择Developer Settings
4.选择Personal Access Tokens---Generate New Token(classic)
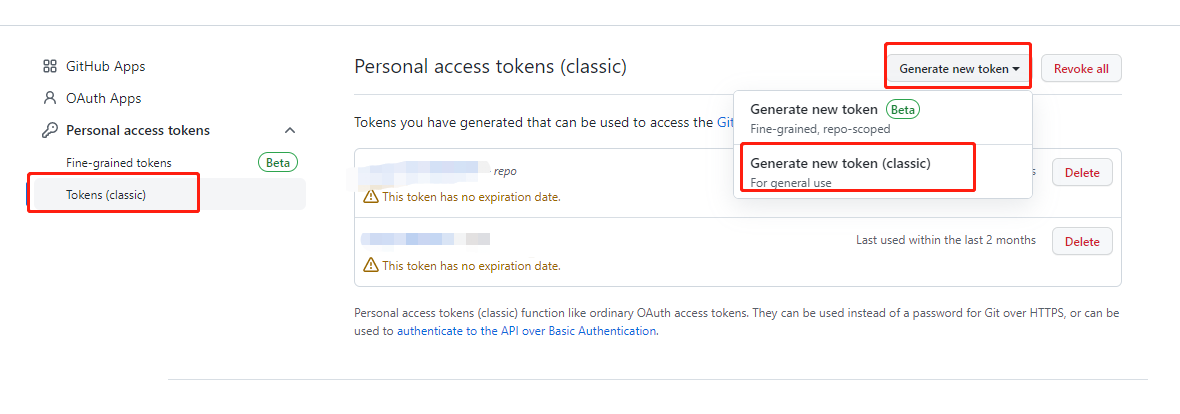
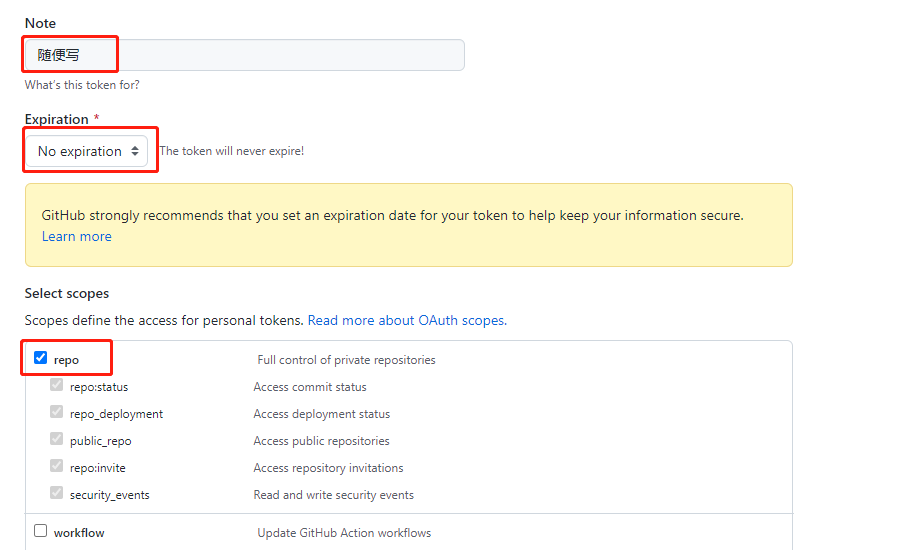
5.Note随便写,选择No Expiration,勾选Repo,点击Generate Token
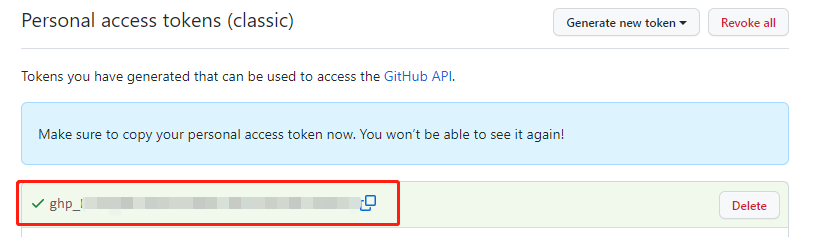
6.复制生成的token,这个token只显示一次,记得留存。
五、打开picgo,设置github图床
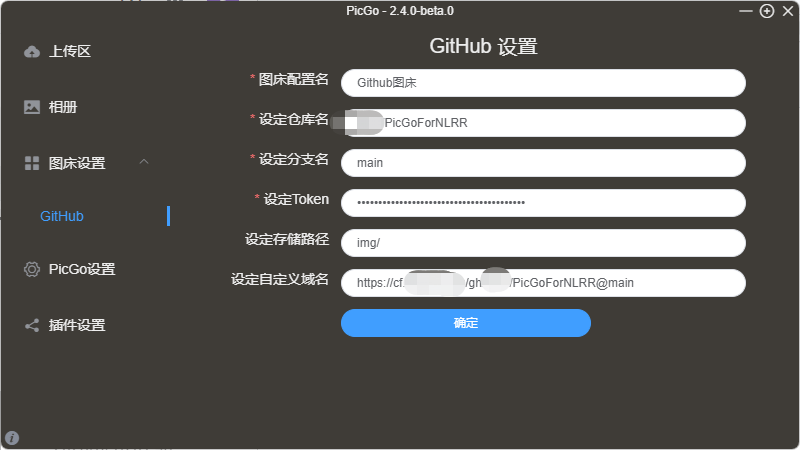
1.图床配置名:随便;
设定仓库名:格式为你自己的github账号/仓库名,比如honey/testpicgo
设定分支名:按实际填写,一般为main
设定Token:刚才获取到的token
设定存储路径:按实际填写,可为空
设定自定义域名:按照加速后的地址格式填写,https://cf.****.**.**/https://raw.githubusercontent.com/honey/testpicgo/main
2.上传图片测试效果